


A Beginner’s Guide to PGP: How to Encrypt Your Emails Step by Step
If you care about privacy, you’ve probably heard of PGP and wondered what it actually does. While it may sound complicated, PGP is simply a way to encrypt messages so only the intended person can read them.
This guide explains what PGP is, why it matters, and how beginners can start using it in a simple, practical way.
What Is PGP?
PGP stands for Pretty Good Privacy. It is a method of encryption used to protect emails, messages, and files.
When you use PGP:
- Your message is turned into unreadable text (encryption)
- Only the person with the correct key can read it (decryption)
- Even if someone intercepts the message, they can’t understand it
PGP is widely used by journalists, activists, developers, and privacy-conscious individuals.
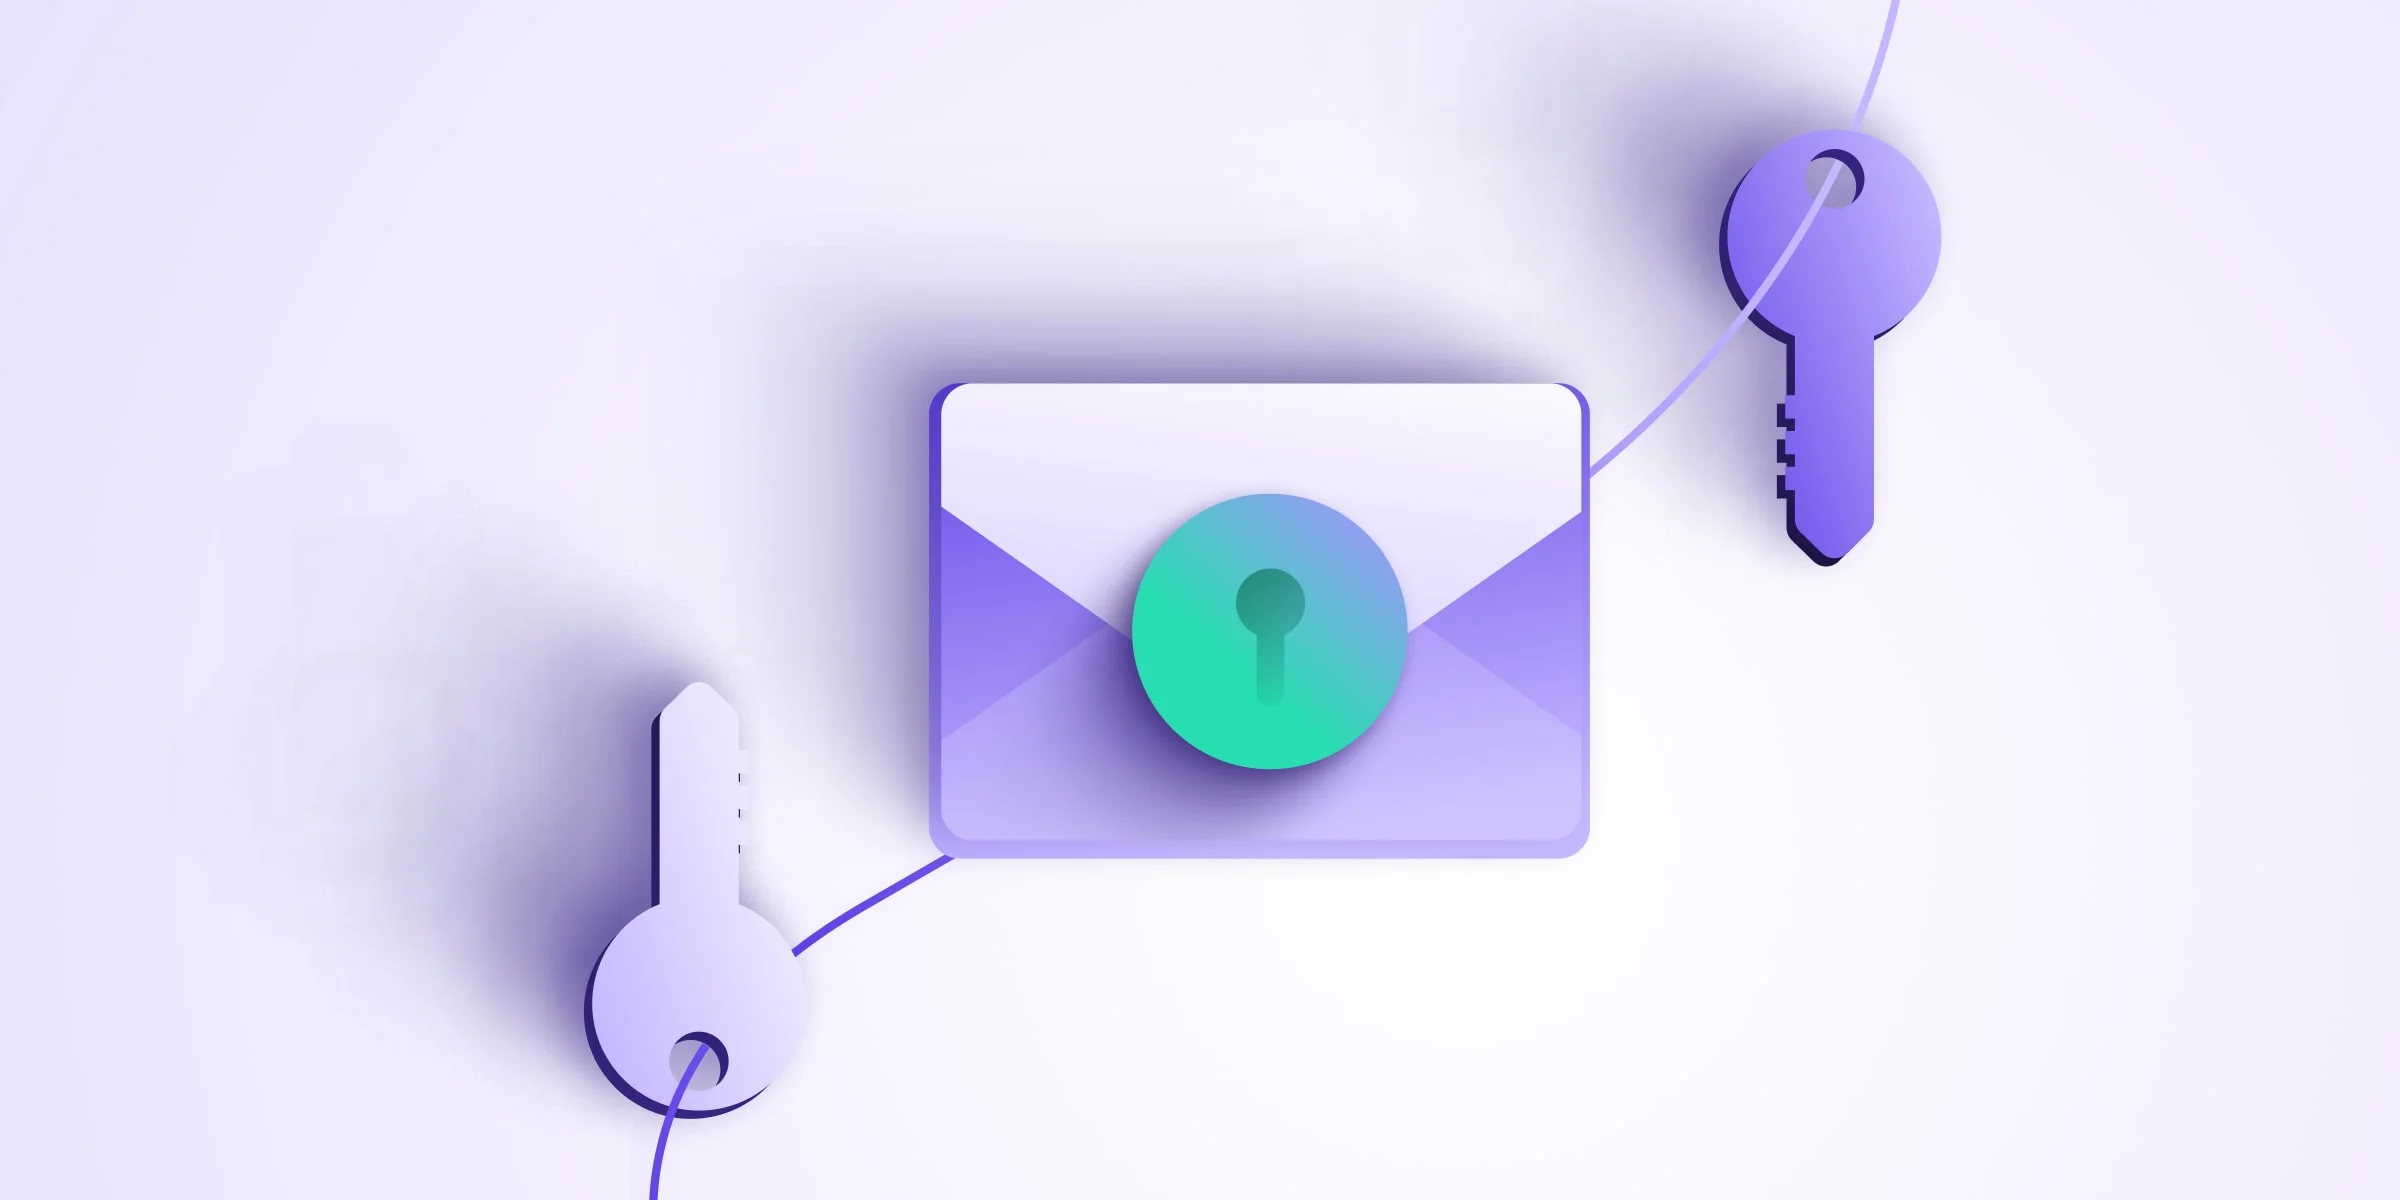
How PGP Works (In Simple Terms)
PGP uses two keys:
- Public Key – You share this with others. They use it to encrypt messages sent to you.
- Private Key – You keep this secret. It’s used to decrypt messages you receive.
Think of it like a mailbox:
- Anyone can put mail in (public key)
- Only you can open it (private key)
What You Need Before You Start
To use PGP, you’ll need:
- A computer (Windows, macOS, or Linux)
- An email address (anonymous email such as protonmail or atomicmail)
- Internet access
- A little patience — the first setup takes a few minutes
No advanced technical skills are required.
Step 1: Install a PGP Program
PGP itself is a standard, not a single app. Most beginners use GnuPG (GPG), which is free and open source.
Recommended Tools for Beginners
- Windows: Gpg4win
- macOS: GPG Suite
- Linux: GnuPG (usually already installed)
Download these only from their official websites.
Step 2: Create Your PGP Key Pair
After installing your PGP software:
- Open the PGP application
- Choose Create New Key
- Enter:
- Your name (can be a nickname)
- Your email address (anonymous email such as protonmail or atomicmail)
- A strong passphrase
- Generate the key
This creates your public key and private key.
Important: Never share your private key or passphrase.
Step 3: Share Your Public Key
To receive encrypted messages, others need your public key.
You can:
- Send it by email
- Upload it to a public key server
- Share it on a website or profile
Your public key is safe to share — that’s what it’s for.
Step 4: Import Someone Else’s Public Key
Before you can send an encrypted message to someone:
- Get their public key
- Import it into your PGP software
- Verify it (optional but recommended)
Once imported, you can encrypt messages for that person.
Step 5: Encrypt and Send a Message
When writing an email or message:
- Write your message normally
- Choose Encrypt
- Select the recipient’s public key
- Send the message
The recipient will use their private key to read it.
Step 6: Decrypt Messages You Receive
When you receive a PGP-encrypted message:
- Open it in your email client or PGP tool
- Enter your passphrase
- The message will be decrypted and readable
Beginner Safety Tips
- Back up your private key securely
- Use a strong, unique passphrase
- Verify keys when possible to avoid impersonation
- Don’t lose your private key — lost keys mean lost access
Common Beginner Questions
Is PGP illegal?
No. PGP is legal in most countries and widely used for secure communication.
Is PGP hard to use?
The setup takes some time, but daily use becomes simple once configured.
Can PGP encrypt files too?
Yes. PGP can encrypt files as well as emails.
PGP is one of the most reliable tools for private communication. While it has a learning curve at first, understanding the basics gives you long-term control over your privacy.
Once set up, encrypting messages becomes a normal part of secure online communication.
Discover additional reports, market trends, crime analysis and Harm Reduction articles on DarkDotWeb to stay informed about the latest dark web operations.